Introduction
This book serves as a guide to Open Source contributions. It is a work in progress, and is intended to be a living document. It is not intended to be a comprehensive guide to all things Open Source, but rather a guide to getting started with Open Source contributions.
This details my own personal workflows, and describes the tools I use on a day-to-day.
Me
I am a software developer at freeCodeCamp. I develop course and curricula content for freeCodeCamp, and I also develop the software used to deliver the content.
I develop on the whole stack - front-end and back-end. I also develop on the heap - the database. I have developed a variety of courses, such as:
- Rust in Replit
- Learn HTML Forms by Building a Registration Form
- Learn Accessibility by Building a Quiz
- Learn CSS Transforms by Building a Penguin
- Web3 Curriculum
- Solana Curriculum
Set Up
The tooling I use on my day-to-day.
Operating System
Windows 11
Yes, I use Windows for software development as my primary workstation 🙄.
I have been using Windows since XP, and have become very comfortable with it. I tried my hand at Ubuntu, Lubuntu, Mint, Raspberry PiOS, and MacOS, but I always come back to Windows as my primary workstation.
File System
Ubuntu 22.04
Oh, right 😅. Did I forget to mention... I use WSL 2 on Windows 11 for my day-to-day development.
Windows Subsystem for Linux (WSL) is a compatibility layer for running Linux binary executables (in ELF format) natively on Windows 10+ and Windows Server 2019+. WSL provides a Linux-compatible kernel interface developed by Microsoft, which can then run Linux distributions in user mode on Windows 1.
Terminal
 Windows Terminal 2
Powershell is useful and all, but it is difficult to use most developer tools with it; the software world has just leant towards using UNIX-like shells. I have found connecting to WSL though Windows Terminal to be convenient, as Windows Terminal allows multiple terminal sessions in tabs.
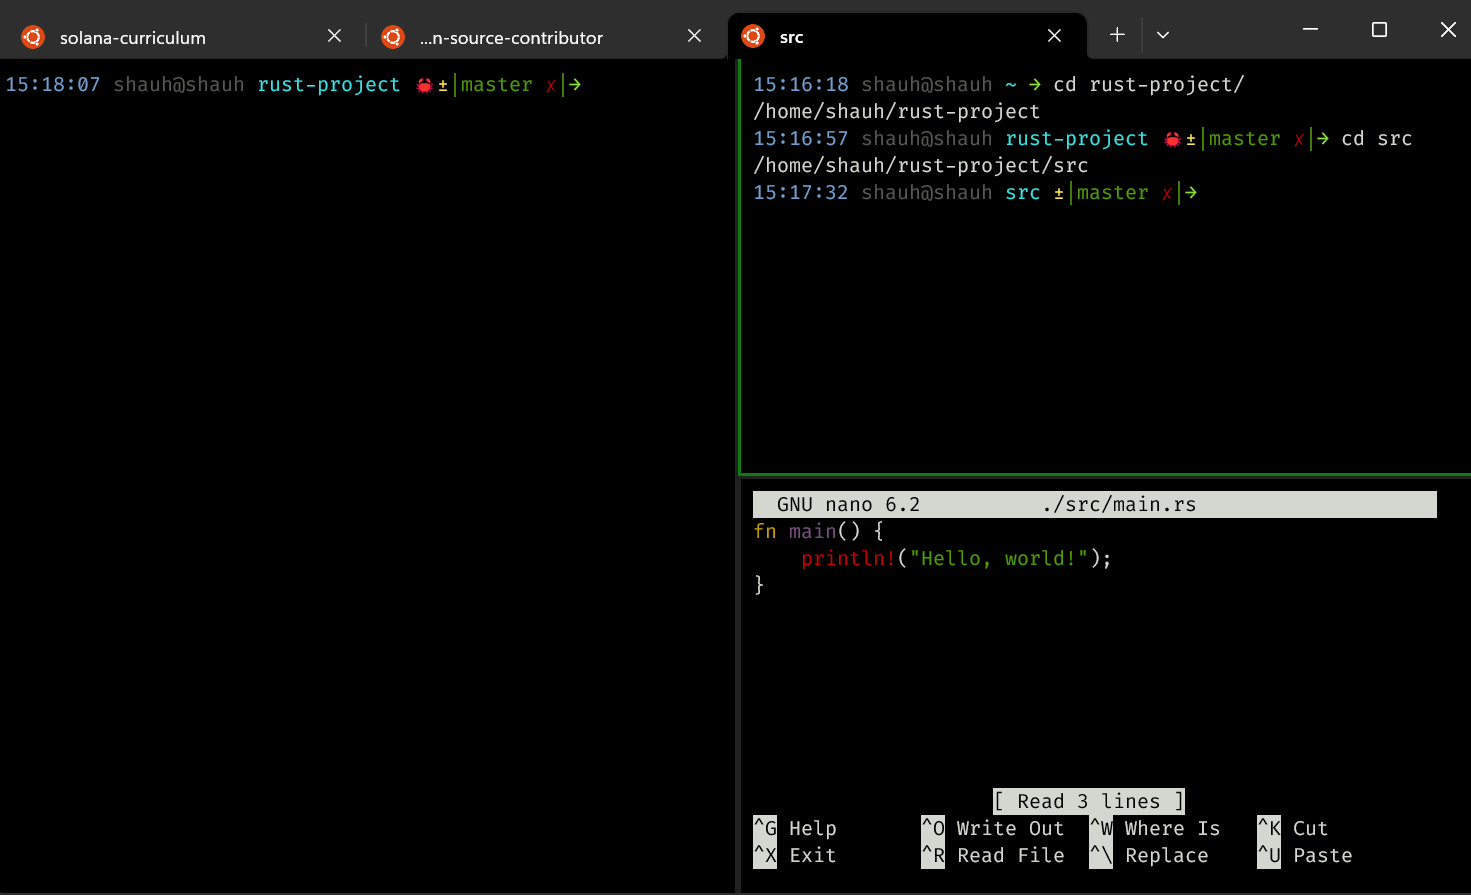
 Oh-My-Bash 3
I use Oh-My-Bash, which is a bash shell with a bunch of useful plugins and themes. Here is my current config: https://gist.github.com/ShaunSHamilton/afe0f6c79fa10fcb5ea83436f98fa5b0
The only custom bits are:
- The timestamp shown in the prompt
- The terminal tab title is set based on the directory I am in
- The prompt includes my silly emojis letting me know what kind of project I am working on

Tools
Node.js
Fortunately/Unfortunately, I have the luxury of being able to use Node.js for a lot of my work.
I install Node.js using Node Version Manager (nvm) 4:
curl -o- https://raw.githubusercontent.com/nvm-sh/nvm/v0.39.3/install.sh | bash
Once installed, I can install any versions of Node.js I want (except for v999):
Rust

...but I usually do.
Rust is more than just a programming language or a compiler. It is a community of developers who are passionate about building fast, reliable, and efficient software.
rustup
With that community comes an ecosystem of tools. The brilliant thing about this ecosystem is that it is not the hodge-podge of tools that you find in the JavaScript ecosystem. The tools are all designed to work together, and they all work well together. Part of this is because the main tooling is developed by the same people who develop the language itself.
Which brings us to rustup - the Rust toolchain installer:
curl --proto '=https' --tlsv1.2 -sSf https://sh.rustup.rs | sh
Rustup handles installing rustc and cargo. rustc is the Rust compiler, and cargo is the Rust package manager.
Docker Desktop
Docker Desktop is a tool for developers and sysadmins to develop, deploy, and run applications with containers. I use it to deplete my drive space with containers.
MongoDB
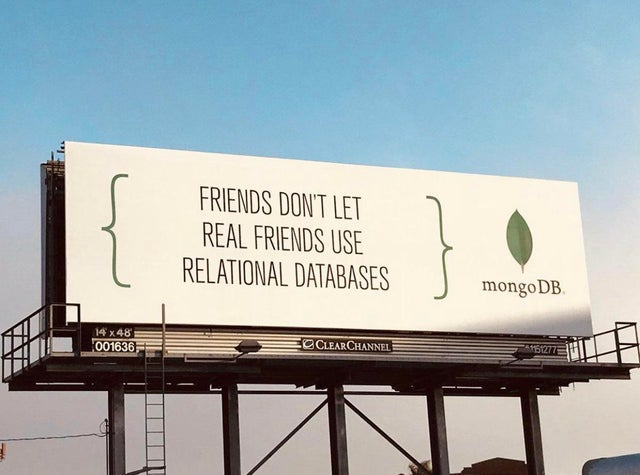
I guess if you program in JavaScript, you have to use MongoDB. I don't know why, but it is what it is. 🤷♂️
Setting up MongoDB on WSL can be a pain. In general, be sure to follow the Install MongoDB on Ubuntu docs.
After following those docs, you might be able to start MongoDB with:
mongod
More likely, you will get an error like:
{
  "t": {
    "$date": "2023-04-16T20:27:21.912+01:00"
  },
  "s":"E",
  "c":"CONTROL",
  "id":20557,
  "ctx":"initandlisten",
  "msg":"DBException in initAndListen, terminating",
  "attr": {
    "error": "NonExistentPath: Data directory /data/db not found. Create the missing directory or specify another path using (1) the --dbpath command line option, or (2) by adding the 'storage.dbPath' option in the configuration file."
  }
}
In which case, you would search this on the search engine of your choice: Let Me Google That For You.
You might see an answer like:
sudo mkdir -p /data/db
Trying again, you would see this error:
{
  "t": {
    "$date": "2023-04-16T20:32:24.033+01:00"
  },
  "s": "E",
  "c":"CONTROL",
  "id":20557,
  "ctx":"initandlisten",
  "msg":"DBException in initAndListen,
  terminating",
  "attr": {
    "error": "IllegalOperation: Attempted to create a lock file on a read-only directory: /data/db"
  }
}
In which case, you would do even more searching:
Stumble upon something like:
Now, you should be able to start MongoDB:
Git Started
Contribute
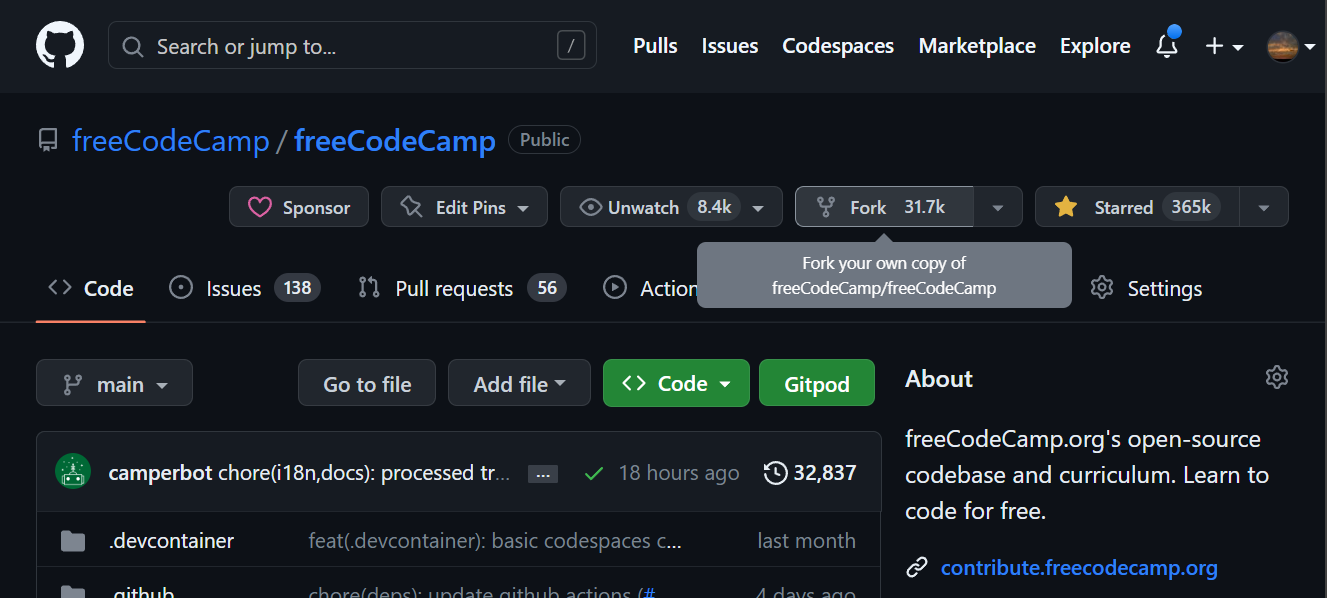
Forking
Cloning
git clone --depth=1 https://github.com/<USERNAME>/freeCodeCamp.git
Upstreaming
To keep your fork up to date with the upstream repository, you need to add the upstream remote.
git remote add upstream https://github.com/freeCodeCamp/freeCodeCamp.git
Look what you did:
git remote -v
Exploring
On freeCodeCamp, issues start off their life as status: waiting triage. This means a maintainer of the repository has not reviewed the issue to a point of concluding what it would take to close it.
Sometimes, issues require more discussion (status: discussing) before they can be triaged. This usually happens when it is not clear whether the point raised is something immediately actionable/desirable for the project.
Once an issue is triaged, it is often opened up to the community to contribute to. These issues are labelled help wanted or first timers only. Issues labelled help wanted are open to all, but usually require a bit more knowledge of the codebase than first timers only issues, and the maintainer comments on the related issue are not always as explicit about what needs to be done.
Find yourself an issue to contribute to: Issues labelled help wanted
Updating
Ensure you have the latest changes from the upstream repository:
# Ensure you are on the default/working branch
git checkout main
# Fetch the latest changes from the upstream repository
git fetch upstream
# Reset your local branch to the upstream branch
git reset --hard upstream/main
Branching
Create a new branch for your contribution:
git checkout -b <BRANCH_NAME>
The format I use for my branch names is: <TYPE>_<DESCRIPTION>
Where <TYPE> is one of: fix, feat, docs, chore, refactor, revert
And <DESCRIPTION> is a kebab-case, easy to remember, description of the change
You may notice others using a forward slash instead of an underscore. This is fine, but confuses me when performing git ops like:
git checkout remote/origin/fix/some-bug
Too many slashes 😱
Committing
So, you have just made your awesome changes:
- console.log('Hello, World!');
+ console.log('Hello, 🌍!');
# Add all changes to staging
git add .
git commit -m "<COMMIT_MESSAGE>"
Pushing
Push your changes to your fork, creating a new branch on your fork to follow:
git push -u origin <BRANCH_NAME>
Now, you can open a pull request from your fork to the upstream repository.
Changing
A maintainer of the upstream repository may request changes to your contribution. You can make these changes on your local branch, and push them to your fork.
- console.log('Hello, 🌍!');
+ console.log('👋, 🌍!');
git add .
git commit -m "<COMMIT_MESSAGE>"
git push
Maybe you want to give credit to whoever suggested the change. You can do that by adding a Co-authored-by line to your commit message:
git commit -m "<SINGLE_LINE_MESSAGE>


Co-authored-by: <NAME> <<EMAIL>>"
git commit -m "emotify entire log message


Co-authored-by: Shaun Hamilton <51722130+ShaunSHamilton@users.noreply.github.com>"
Pay attention to the two empty spaces between the commit message and the Co-authored-by line. This is important.
Side Step
The beauty of the open-source community is evident in its "I see, therefore I fix" attitude. This is often the best way to get started, and to keep going; whilst developing your own projects, you will inevitably come across bugs in the tools you use. Why not fix them?
The Bug
Let's say you are working on a project, and you come across a bug 🐛 in a tool you use. You can either:
- Ad-hoc fix the bug in just your own code
- Use a different tool
- Fork the tool, fix the bug, and use your fork
- Contribute to the tool
At the very least, it is worth checking the tool's issue tracker to see if the bug has already been reported. If it has, you can add a comment to the issue, or even better, you can submit a pull request to fix the bug.
Example Time
You are writing a certain book-like thing using mdBook bootstrapped with mdbook-admonish.
Writing an admonish block has the following options:
```admonish note
Default with title="Note"
```
```admonish note title="Another Title"
Default with title="Another Title"
```
```admonish note title=""
No title is shown, and the cute little icon is not shown
```
🤔But you want no title, and you want the cute little icon to be shown. How do you do that?
A little bit of hacking, and you discover title=" " does not work, but title="​" does. That is odd. A 🐛??
The Report
After searching the issue tracker, you find that the bug has not been reported. So, you open an issue.
The issue contains as much information as is relevant, and is polite and respectful. Including a code example or two goes a long way.
The Fix
A maintainer of the project gets back with some actionable steps to close the issue. You decide to fix the bug, and submit a pull request.
First, you should probably read any contributing guidelines the project has. Usually, these are located in a CONTRIBUTING.md file in the root of the repository, or mentioned in the README.md.
Then, you go through the whole Git Started process again.
Overview
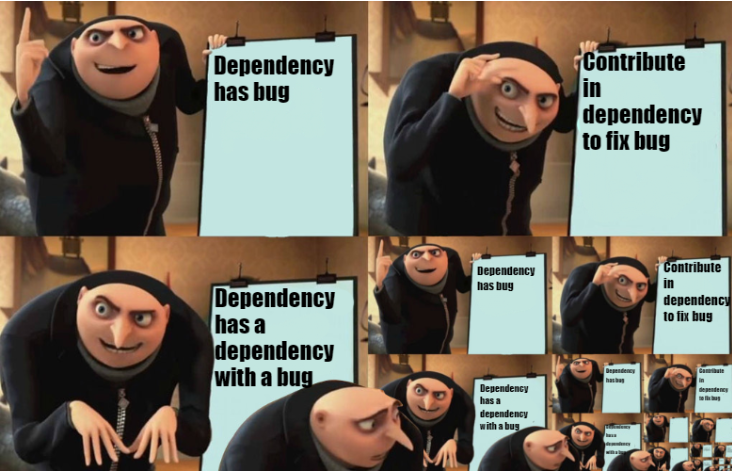
Contributing a fix to the software you use may not always be possible due to the scope of the bug, or the aliveness of the project. However, it is worth trying, and is an excellent way to develop your developer skills.